Saturday, July 30, 2011

Papertrey ink cards.

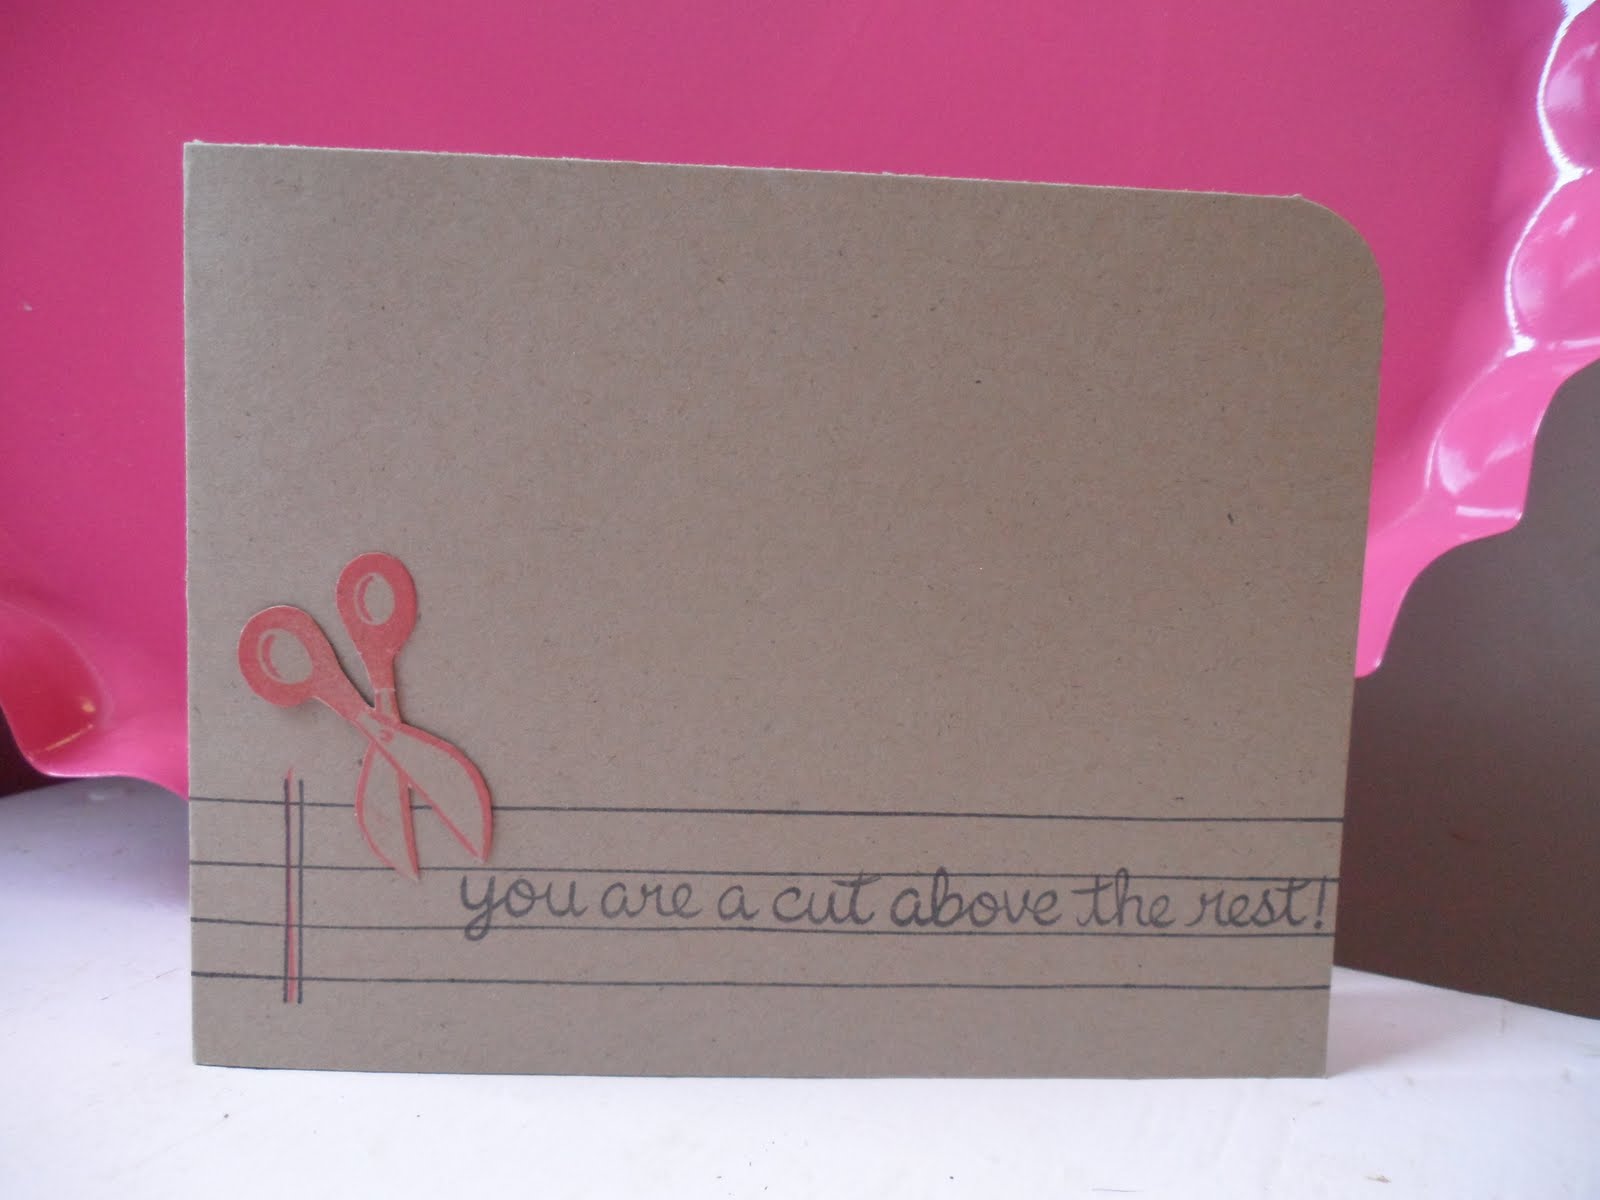
Still practicing making easy cards to mail off.  I really loved the way these two came out.  I used a lot of Papertrey ink goodness.


Supplies:
Papertrey ink: Mehndi Medallion, Buttoned up #2 die, Dress From stamp set
Provo Craft: Cuttlebug embossing folder Seeing Spots
Core'dinations: Cardmaker Series Pearls Tan Pearl
Tsukineko: Memento Dew drop Rhubarb Stalk
May Arts: 1/4 inch silk ribbon SK25


Supplies:
Papertrey ink: Dress Form stamp set, Dress Form Die, Double-Ended Banner die, Parisian Lace Doily, Buttoned up #2 Die &Vintage Cream Pigment Ink
Recollections: Kraft Cardstock, Pearls
Core'dinations: Cardmaker series Pearls Tan pearl
Misc. Embroidery Floss & Wood paper

That's all I have for today. Thanks for stopping by:
Yar!tza

Wednesday, July 27, 2011

Die-Cut Storage

Hello,

Here is a video where I walk you through all the different storage options for all of my different die-cuts.  I cover:

1. Lifestyle Crafts
2. Accucut
3. All Sizzix
4. MFT
5. Papertrey Ink
6. Spellbinders

Video:


Here is a link to the cd/dvd storage sheets that I used for my Spellbinders. Clear CD/DVD Binder Pages.

Thanks for stopping by:
Yar!tza

Saturday, July 23, 2011

Lawn Fawn card

I've been loving Lawn Fawn images. If you can't tell the last four cards have featured their stamps. Here is another attempt at making simple card.  I almost made it then I decided it needed some bling. I found those tiny tiny pearls at Michaels. They're by Recollections and they fit perfectly inside of the keys.  It was like it was meant to be.  How can I pass that up.


Supplies:
Recollections: Kraft cardstock & Pearls
Lawn Fawn: Just my Type
Tsukineko: Memento Dew Drop Tuxedo Black
Prismacolor: Aquamarine PC905
Loew-Cornell: Better Way Brush Cleaning Fluid

Thanks for stopping by:
Yar!tza

Thursday, July 21, 2011

Missing in action plus card share

Yeah so I've been absent from the blog for a month. To start things off my niece and nephew are here to visit for the whole summer, so it's been me and 4 kids all 6 yrs. old and under by myself since hubby was at school for the first three weeks.  Man you really learn how to manage your time better.  Also, I'm trying out for a few design teams. First time ever trying out so I'm not holding my breath. But I really wanted to challenge myself and do something that scares me. I'm a pretty shy, non confrontational person so this is really out of my element. I've been creating, just not things that I can put up on the blog yet.  I have made a heck of a lot of cards these last few days, though.  I've been all about challenging myself lately and I really wanted to try and make simpler cards that will mail easily.  I find myself paying a lot of money is postage when I have to mail out a card to a friend or family member. That really does not bother me but when I gift cards in packages I want to make sure that the recipient does not have to pay a lot in postage.  The first card did not meet my challenge requirements but I think by the time I got to the last card I succeeded. Here are just a few of the cards I've worked on as of late.


This is the first card. It started out good and then I gave in.  It just felt too plain and I though a felt flower would do the trick.


Supplies:
Lawn Fawn: Fanciful Frames & Just my Type, too
MFT die namics: Rolled Flower
Prima: White Mulberry leaves
Tsuikineko: VersaMark
American Crafts: Zing embossing powder Chestnut
Core'dinations: Cardmaker Series Pearls Baby pink pearl
Martha Stewart: Score Board
Papertrey ink: Dark Chocolate Felt
Copic: YG63
Misc. Pearl and wood paper


Then I figured, well the first one has dimension, Why not?


Supplies:
Tsukineko: VersaMark
Darice: Self-Stick Chalkboard Sheets
Misc: Pearls 

Than I decided to cut it out and really try. Not as happy with this one. It just looks so unfinished. Maybe if I added a little bit of pattern paper it wouldn't look so bad.


Supplies:
Recollections: Kraft cardstock
We r Memory Keepers: Corner Chomper round 1/2 inch


Thanks so much for stopping by and I hope that within a few weeks I can start keeping on with my blog on a more daily version.  
Yar!tza

Thursday, June 23, 2011

Maya Road Supper Bottle Cap Pin Cushion

Hello,
Once I saw these HUGE Bottle caps I just knew that I had to attempt to make a pin cushion out of them. I think they were a success. I just love the way they turned out. They're super quick to make and it's a great way to use any fabric and trim scraps you have laying around too.

Picture:


Video:


Supplies used:
Maya Road: Super Bottle Caps
Heidi Grace: Small Funky Floral Fabric
Quickutz/Lifestyle Crafts: Magnet Sheets
Marvy Uchida: Clever Lever Mega Craft Punch-Circle
Fiskars: Fiskateer Scissors
Surebonder: Detail mini glue gun
Misc. Fiber Fill, Trim, Button and Tulle

Tuesday, May 31, 2011

Last day of Kindergarten teacher's gift

Hello,
I completed another fast motion project, this time I walk you through how I completed this card gift set for my daughter's teacher.
Box
Cards
Video

Supplies:
Lifestyle crafts: Folder with insert
Unity Stamp CO.: Ipitty Books A' Flutter
Spellbinders: Labels one
Ranger: Distress ink (Wild Honey, Fired Brick, Pumice Stone, Broken China, Old Paper, Spun Sugar and Peeled Paint), Matte Accents
Recollections: Mini roses, Kraft cardstock, Cream cardstock
Pentel: RSVP Pens
Misc. Ribbon


Tuesday, May 24, 2011

Last day of Kindergarten gifts

I wanted to give the kids a little for something for their last day and I came up with these.  I had gone to Target after Valentines to see what they had on clearance and I saw these tiny Playdoh jars.  After looking at them the only Valentines on it was a sticker you add. The actual container were just regular containers so I got them. And at 50% off they were pretty cheap.  Went to Hobby Lobby and found the boxes on clearance for .71 cents for a pack of 24. Such a good deal.  Going though my stash to figure out what to give the kids I realized that they playdoh jars fit inside of the boxes perfectly.  Lucky since I didn't plan it out but I'm glad it worked out cause that made it super easy to make.  The die cut that goes on the jars read: "Thank you for being my classmate" plus my daughters name.

Project Picture:


Video:


Supplies:
Playdoh jars
Baby favor boxes: Hobby Lobby
Provo Craft: A child's year Cricut cartridge
Misc. scrap cardstock
Hug Snug: Seam Binding
Stampin' up!: 1 3/4 circle punch(old style)
Spellbinder: Standard Circles Large
3M: Pink ATG gun
Fiskars: Fingertip detail knife

Thanks for stopping by:
Yar!tza